Mini Drone Race -- The Planning And Control Saga!
Table of Contents:
- 1. Deadline
- 2. Problem Statement
- 3. Environment
- 4. Navigation Stack
- 5. Testing (Live Demo)
- 6. Submission Guidelines
- 7. Allowed and Disallowed functions
- 8. Collaboration Policy
1. Deadline
11:59:59 PM, Nov 07, 2023.
2. Problem Statement
In this project, you will implement a planning and control stack and integrate it with the perception stack from Project 3a on a real quadrotor (DJI Tello Edu).
3. Environment
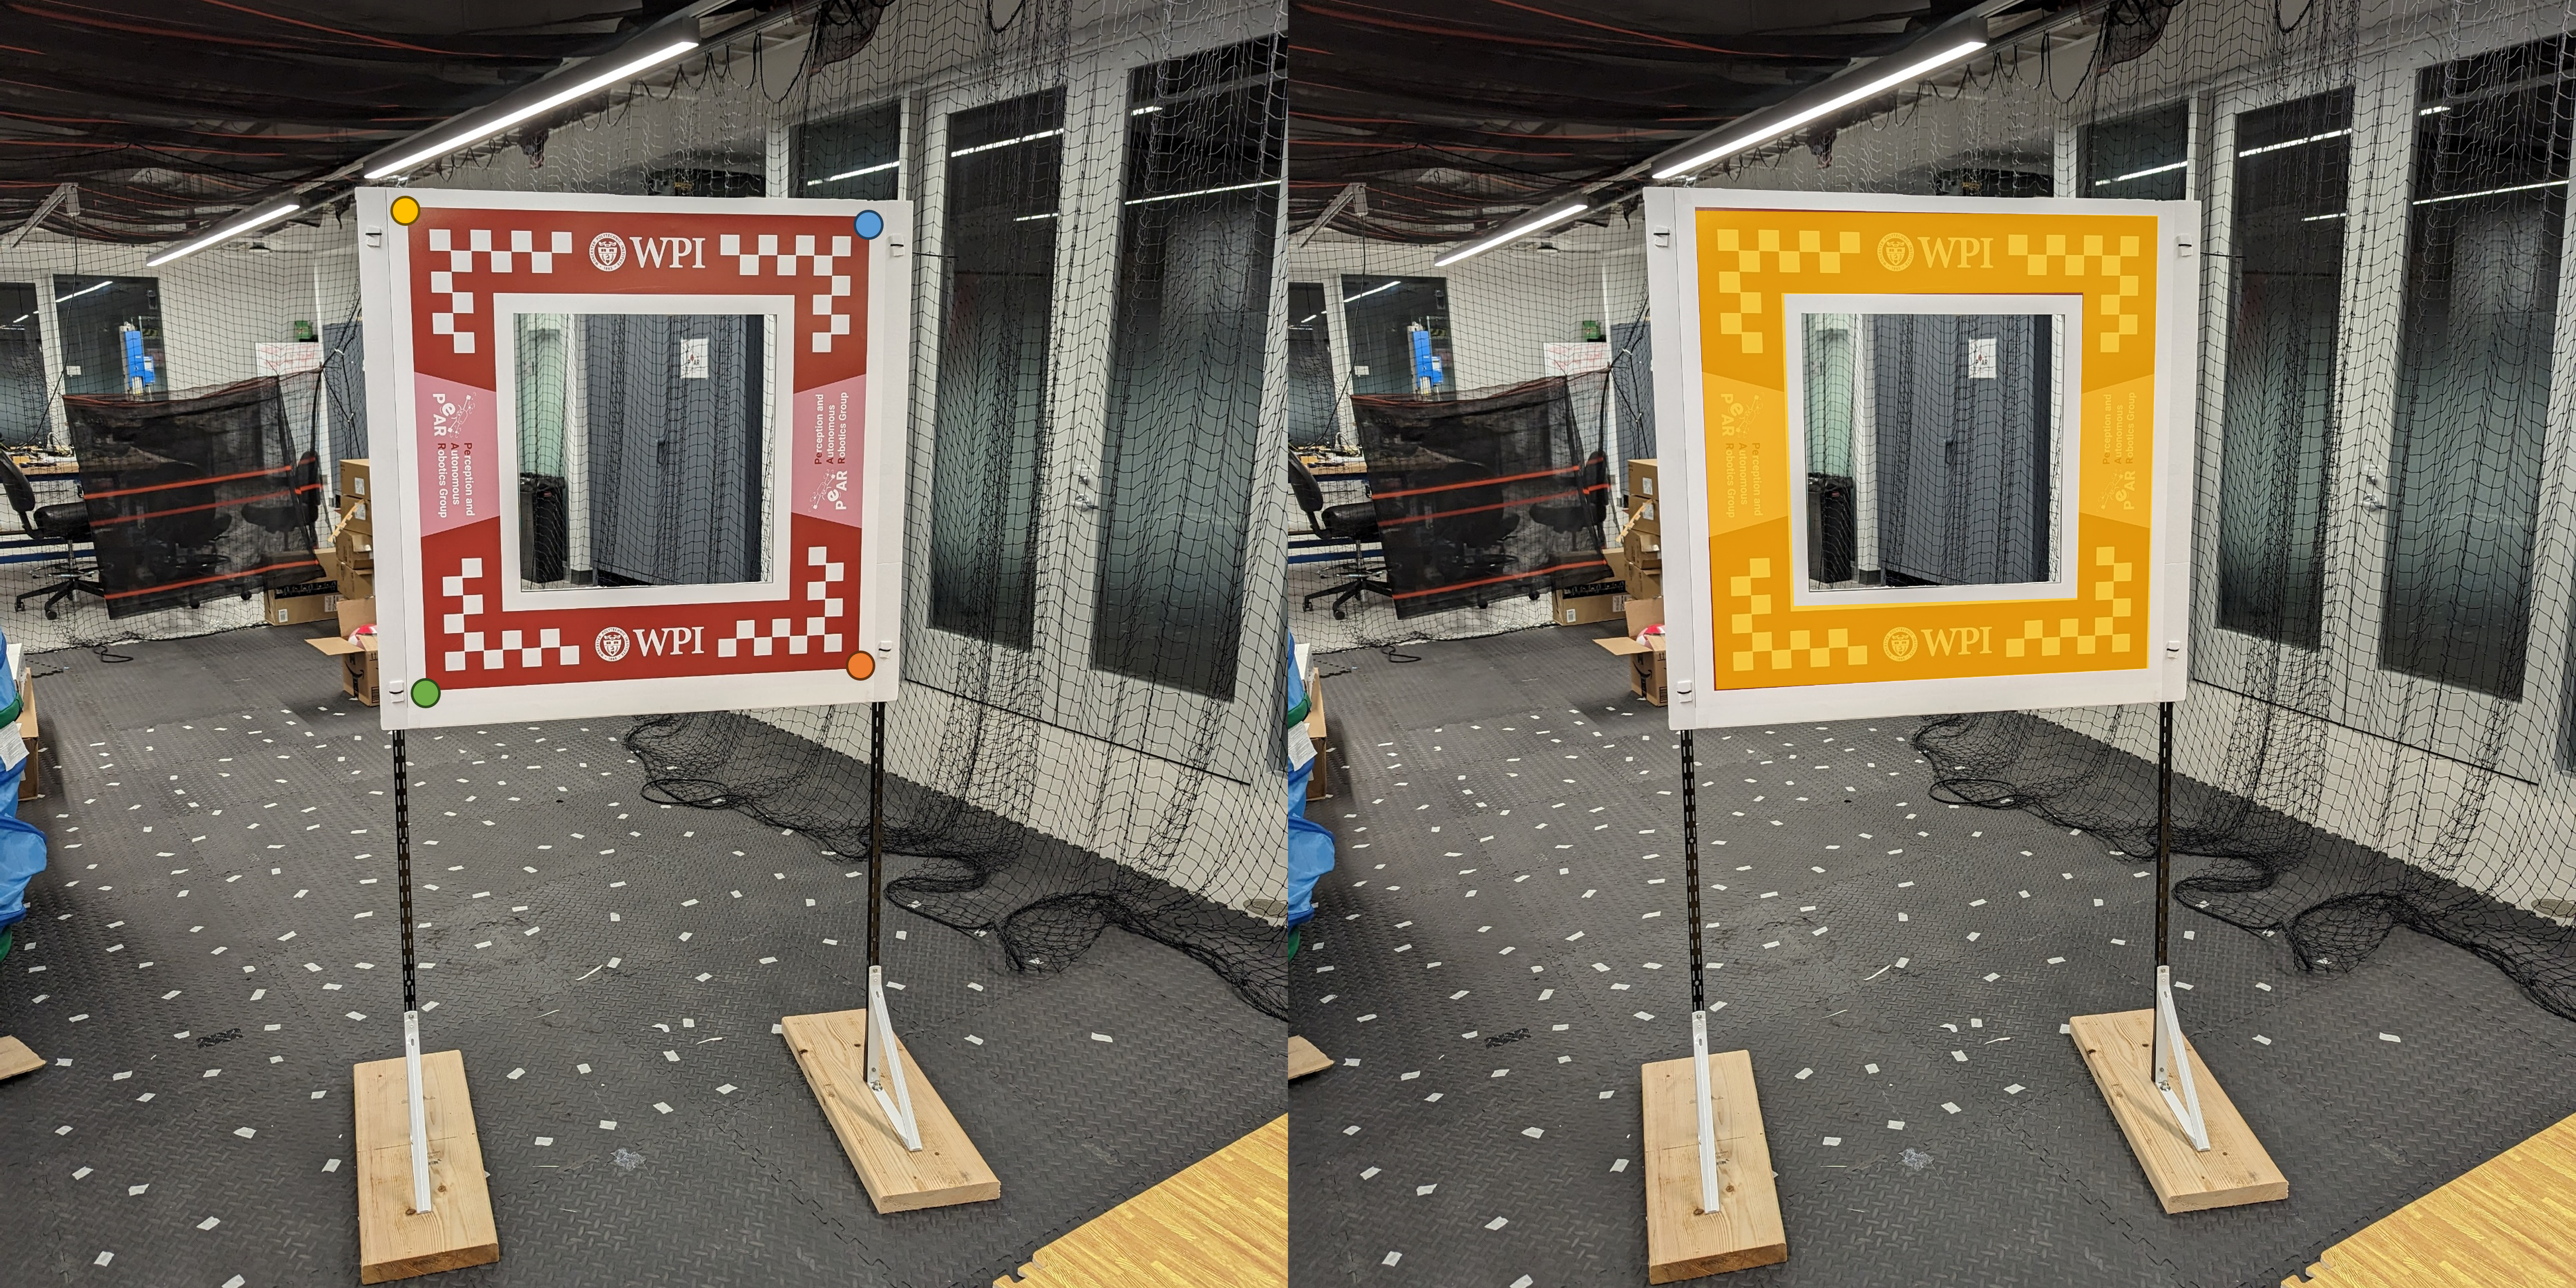
The track is made of multiple windows with their approximate 3D pose known apriori. Now given the 3D pose of the closest window from project 3a, your goal is to navigate through the window from your current position. Note that there are no other obstacles apart from windows in the scene. More details on the algorithmic parts of the navigation stack (planning and control) are explained in the next section.
3.1. Window Locations
The same format from project 3a is used for this part.
4. Navigation Stack
You are free to design any method to plan your path from the current position to the closet window. This is relatively simple as you are given the approximate position of the window and there are no other obstacles in the scene. Hence, if you fly close to the approximate position, you’ll be able to see atleast a part of the window. Then you can center the quadrotor towards the window and fly though it. In this ideology, you are generating position waypoints for your controller to follow (for which you’ll use the DJITelloPy package). Alternatively, you can also perform visual servoing to center yourself towards the window and fly through it (although this might be more robust this will most likely be slower).

5. Testing (Live Demo) And Grading
On the day of the deadline, each team will be given a 15 minute slot for demoing their code in action to the instructors. The instructors will place the windows as they wish (approximate window locations will be given to you) and the quadrotor will start at the origin in zero pose. The task is the fly through all windows/gates as fast as possible without any collisions. Note that parts of the window can be occluded, logos can be missing, window corners/surfaces can be damaged, lighting can be variable and so on. Be sure to handle as many corner cases as possible once you have a functional algorithm. You can get as many attempts as you want to accomplish this within your 15 minute time slot. Your final grade for the demo is decided based on completion (the number of gates you fly through) and time. You are required to show us the real-time detections (either a mask or the corners of the window as shown in Fig. 2 or anything else you predict) along with their estimated 3D pose of the camera/quadrotor with respect to the window in Blender (visualization does not have to be real-time, you can save images and run inference, but inference has to be shown real-time). A sample frame of how the pose visualization can look is shown in Fig. 3.


An example test environment file is given below (the final test file will be very similar):
# An example window environment file for P3b testing
# boundary xmin ymin zmin xmax ymax zmax
# window x y z xdelta ydelta zdelta qw qx qy qz xangdelta yangdelta zangdelta
boundary -1.73 -1.15 0.0 1.73 7.4 2.0
window 0.65 1.83 1.36 0.5 0.5 0.5 0.9816 0 0 0.1908 5 5 20
window -0.55 3.57 1.36 0.5 0.5 0.5 1 0 0 0 5 5 20
window 0.6 5.59 1.36 0.5 0.5 0.5 0.9890 0 0 0.1478 5 5 20
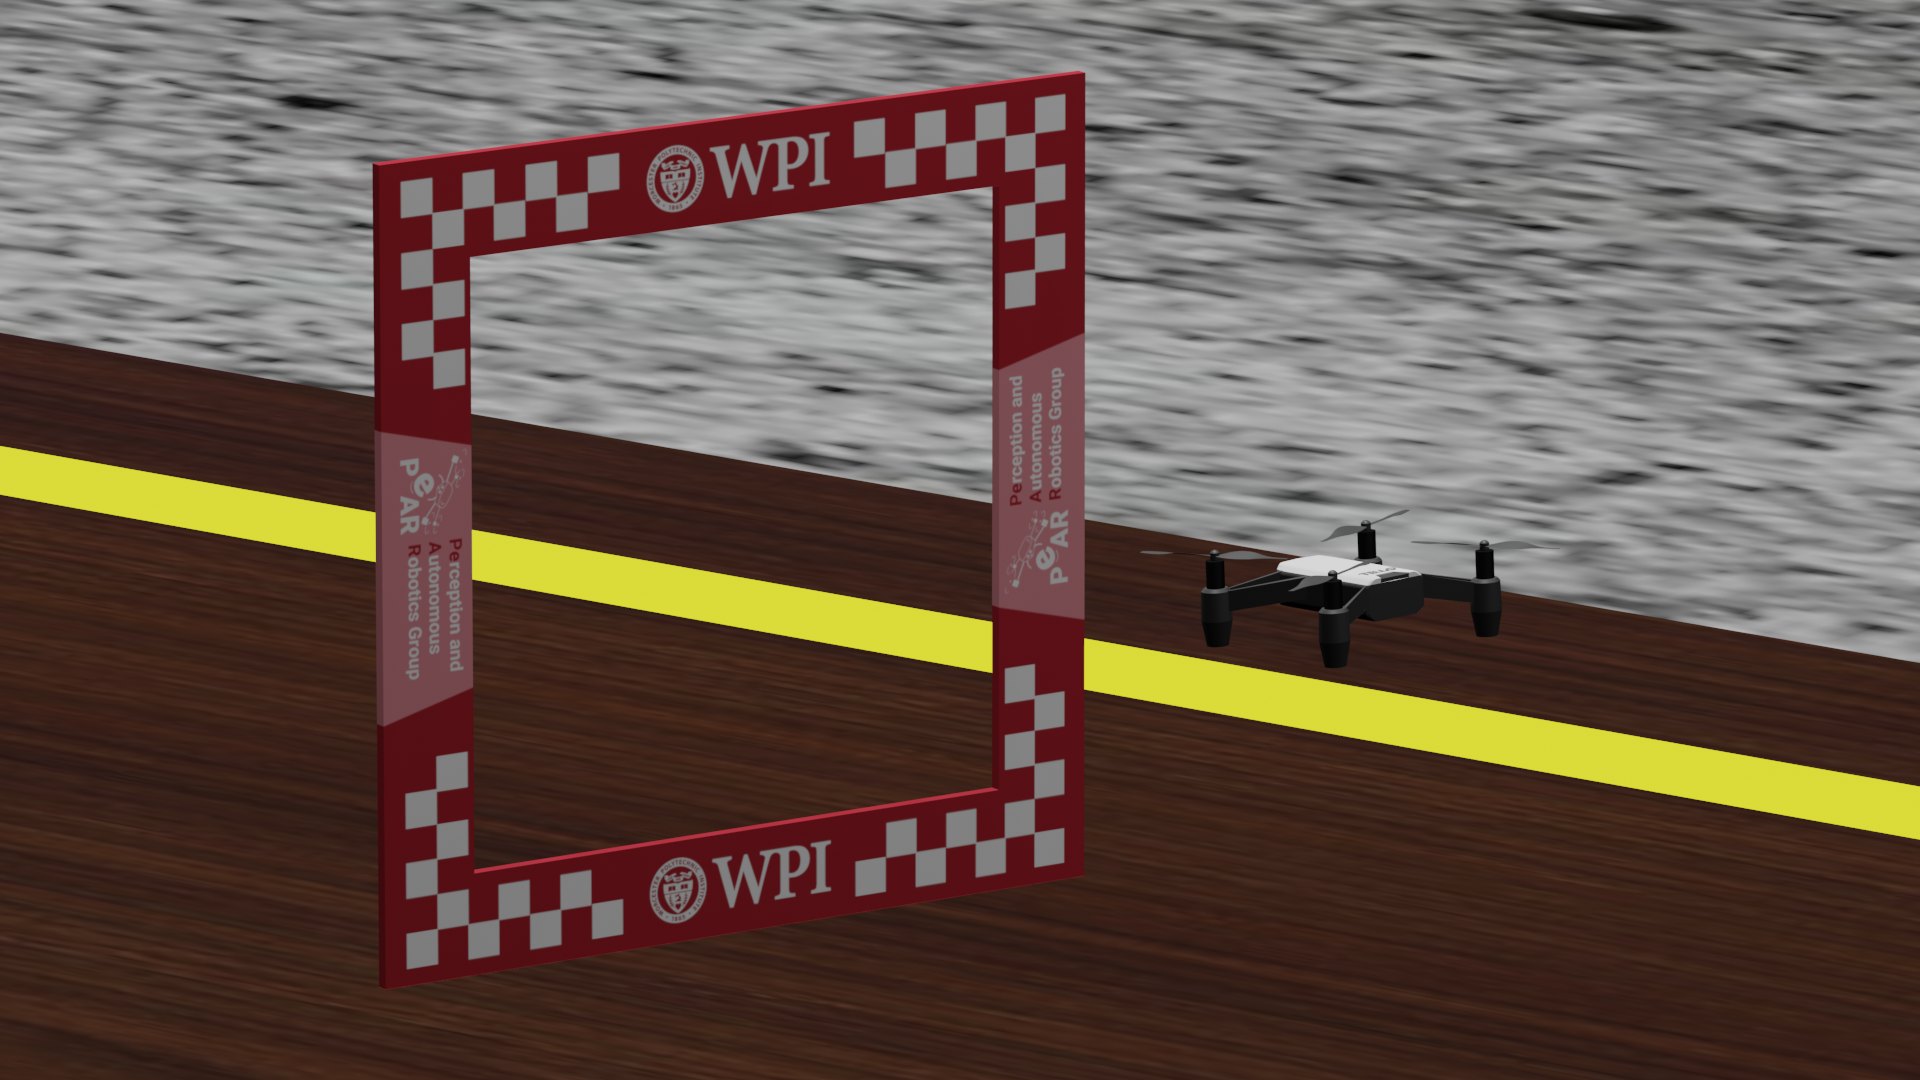
Different views of the environment in the above example is shown in Fig. 4.
The quadrotor will be placed at the origin with zero pose. The attempt ends when you pass through the final gate and continue to hover/land.

6. Submission Guidelines
If your submission does not comply with the following guidelines, you’ll be given ZERO credit.
6.1. File tree and naming
Your submission on ELMS/Canvas must be a zip file, following the naming convention YourDirectoryID_p3b.zip. If you email ID is abc@wpi.edu, then your DirectoryID is abc.For our example, the submission file should be named abc_p3b.zip. The file must have the following directory structure. The file to run for your project should be called YourDirectoryID_p3b/Code/Wrapper.py. You can have any helper functions in sub-folders as you wish, be sure to index them using relative paths and if you have command line arguments for your Wrapper codes, make sure to have default values too. Please provide detailed instructions on how to run your code in README.md file.
NOTE: Please DO NOT include data in your submission. Furthermore, the size of your submission file should NOT exceed more than 500MB.
The file tree of your submission SHOULD resemble this:
YourDirectoryID_p3b.zip
├── Code
|   ├── Wrapper.py
|   └── Any subfolders you want along with files
├── Report.pdf
├── VideoRun.mp4
├── VideoViusalization.mp4
└── README.md
6.2. Report
For each section of the project, explain briefly what you did, and describe any interesting problems you encountered and/or solutions you implemented. You must include the following details in your writeup:
- Your report MUST be typeset in LaTeX in the IEEE Tran format provided to you in the
Draftfolder and should of a conference quality paper. Feel free to use any online tool to edit such as Overleaf or install LaTeX on your local machine. - Link to a ghosted photo?
6.3. Video
Record your successful run in .mp4 format during your demo or before and submit it in the zip file. Make sure to name it as VideoRun.mp4. Record the video in the highest resolution and fastest fps possible on your recording device with minimum being 1080p at 30fps. Record the video horizontally and such that the nets do not cover the frame. Use a super steady hand or a tripod for good quality shots. VideoViusalization.mp4 is a video that shows both the predictions (corners or segmentation mask or anything else you predict) and the 3D pose of the camera/quadrotor with respect to the closest window.
7. Allowed and Disallowed functions
Allowed:
- Any code from P3a
- Any code for planning and control of the quadrotor
Disallowed:
- Other student’s code in class
If you have any doubts regarding allowed and disallowed functions, please drop a public post on Piazza.
8. Collaboration Policy
NOTE: You are STRONGLY encouraged to discuss the ideas with your peers. Treat the class as a big group/family and enjoy the learning experience.
However, the code should be your own, and should be the result of you exercising your own understanding of it. If you reference anyone else’s code in writing your project, you must properly cite it in your code (in comments) and your writeup. For the full honor code refer to the RBE595-F02-ST Fall 2023 website.